It’s amazing how the stars have been aligning lately. Continue reading “Visions & Shadows, An Exploration of the Unknown”
It’s amazing how the stars have been aligning lately. Continue reading “Visions & Shadows, An Exploration of the Unknown”
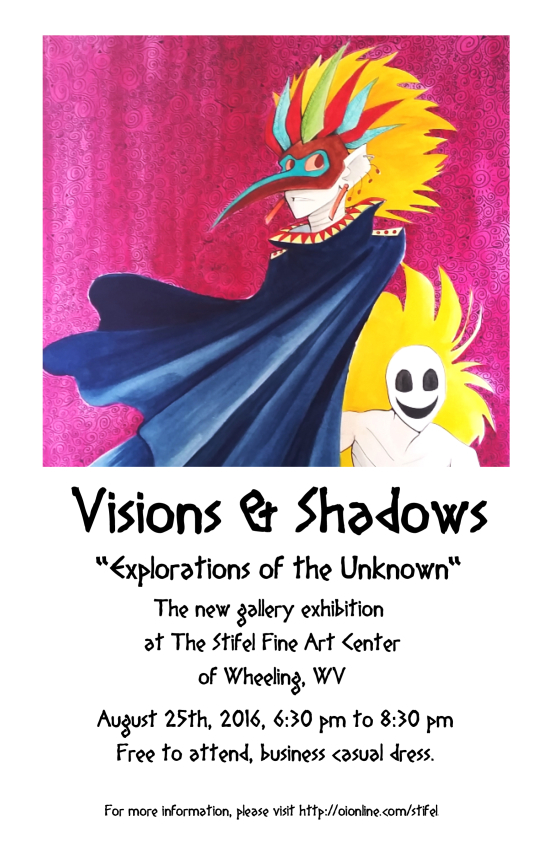
Awww yeah. This lovely painting I made got accepted into the show “Visions & Shadows” at the Stifel Fine Art Center in Wheeling, WV. The show’s opening reception is August 25th (the day after my birthday!) and it will run until November 4th.
If you can make it to the show, please do! I would love to see you there. You may need to dress nicely, though, since it’s an art gallery show. No 3-piece suit, but like something you would wear at a day job.
Want to see how I made this painting? Here’s a step-by-step post on how I did it.
Thank you so much for reading and for all of your support!
You. Are. Awesome.
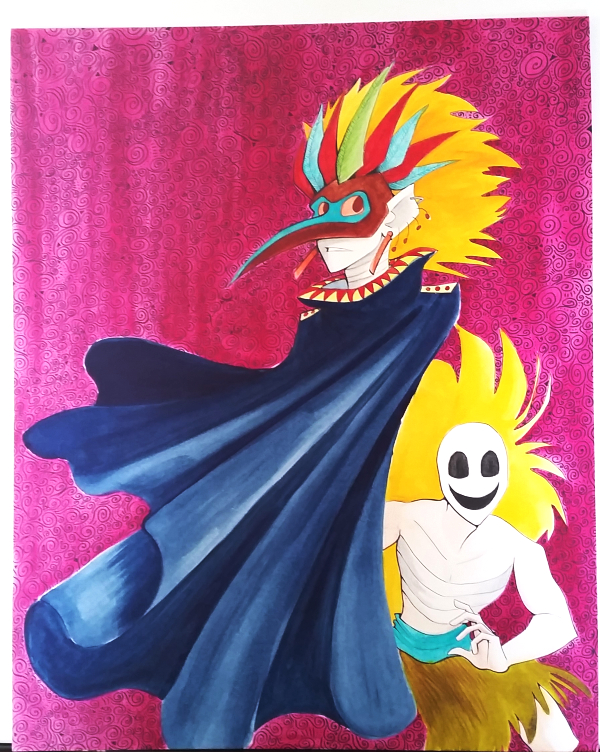
For the last two days I’ve been working on this new painting to submit to a local art gallery. They’re holding a show themed around “Visions & Shadows,” and “explorations of the unknown.”
So of course I had to make something for it. (The show is also set to open on my birthday, so that motivated me, too. But shhh – don’t tell the committee that.)
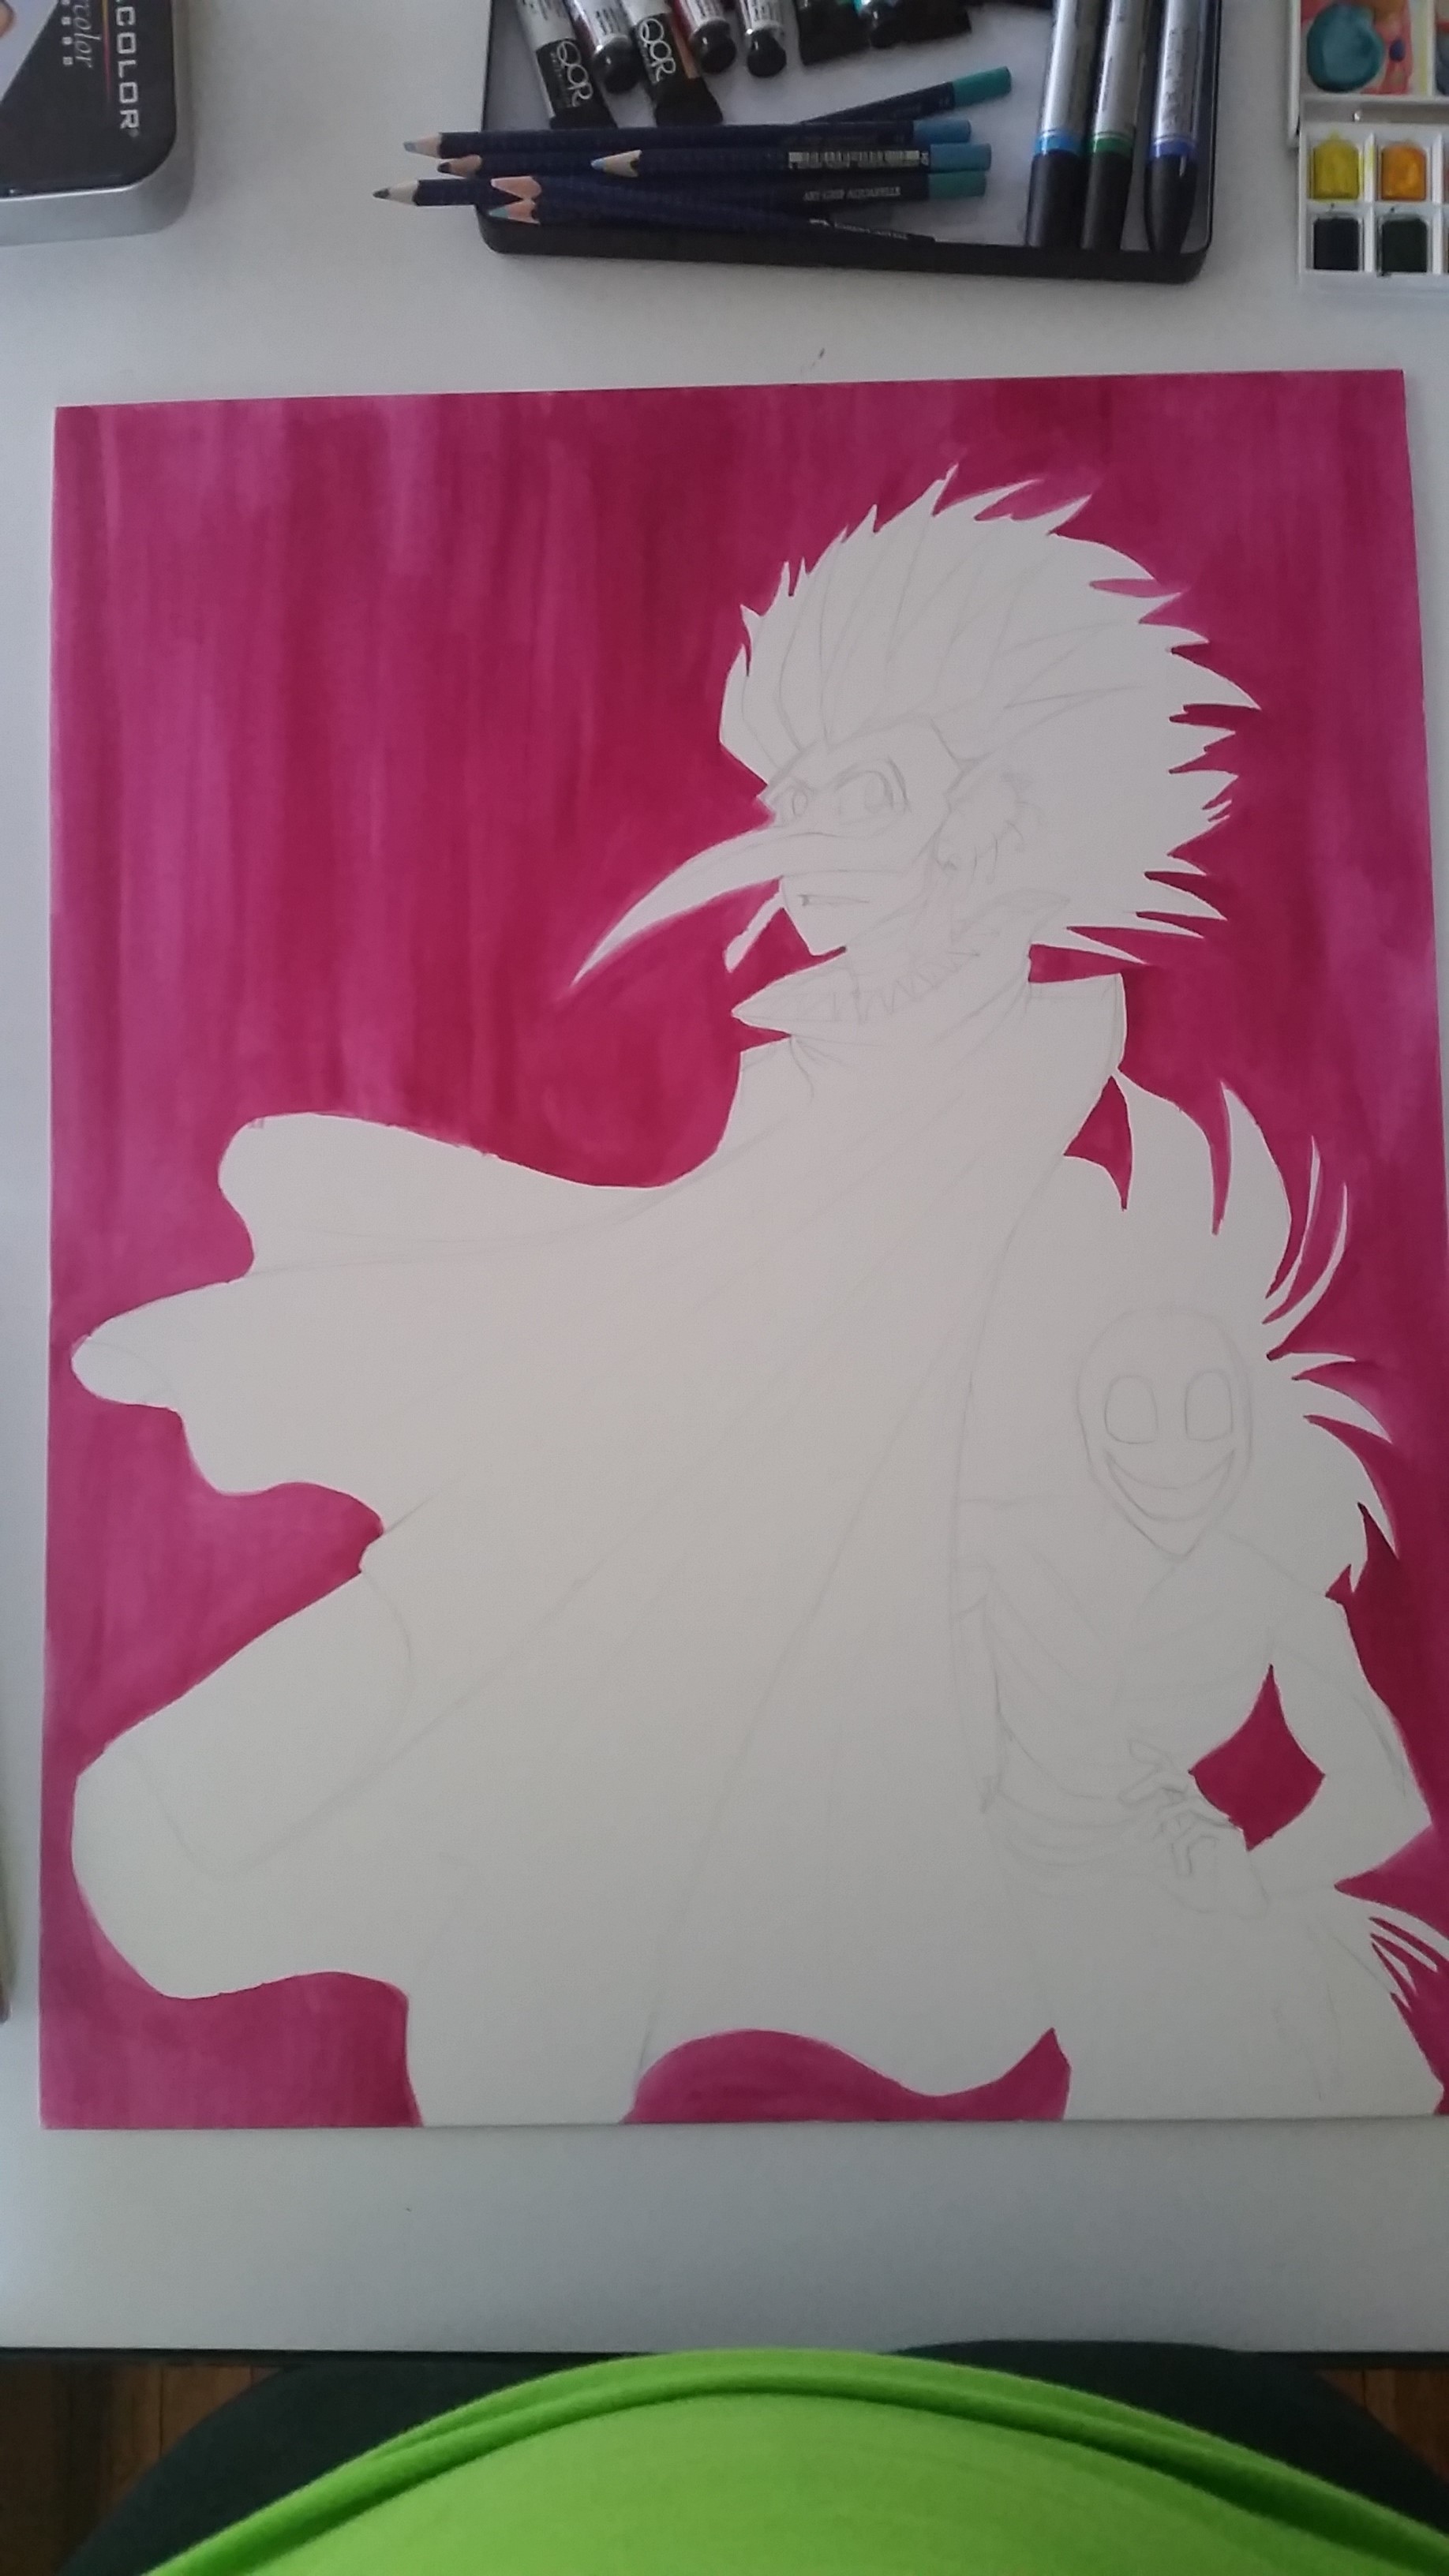
I’ll be showing the step-by-step process of how I made this painting during the course of this blog post. Of course I made an initial sketch in my sketchbook of the idea, but I didn’t scan that in or take a photo of it because… I didn’t think to. Continue reading “The Voice and The Messenger: A Painting”
Today’s video features not only two watercolor paintings and a Thoughtful Dinosaur comic strip I’m making, but it also features a song I made.
This is the first song I’ve ever composed and made using a program called LMMS. The program is free to download if you want to give it a try for yourself.
Keep in mind, my musical background is from my days playing Taiko. If you want an idea of the kinds of songs I performed, here’s an example from a troupe I was a part of. That’s why, for the first song, it’s pretty much exclusively drum sounds.
Why am I painting two watercolor paintings? Find out…NEXT TIME.
Thanks for listening.
You. Are. Awesome.
I’ve been drawing with watercolors for about 8 years now. I’m not a professional (at least, I wouldn’t consider myself such), but I’ve picked up a few tricks.
This is good because when I look online for the basics of how to get into watercolor drawing and painting, I’m frustrated with how hard it is to read the information.
It’s a shame because watercolors are one of the most fun mediums you can experiment with.
Do you have to draw landscapes? No, not unless you want to. You can draw whatever you want with watercolors.
(There are even some watercolorists who design awesome tattoos, but that’s a different topic for a different day.)
But where do you start?
Well, first, I want to talk about the tools.
We’ll talk about how to use them, and what to draw with them, in the next post.
So what do you need to start painting and drawing with watercolors?

First, you need two containers for water. The first one will rinse your brushes. The second one will be what you use to dilute colors.
Second. Brushes. This is really up to personal preference. However, keep in mind that in art stores there are brushes specifically made for painting with watercolors. These are going to be your best choices.
These brushes come in either of two types of hairs: synthetic, and natural. Again, your personal preference. My personal preference is for those made with natural hairs, because they retain water for longer.
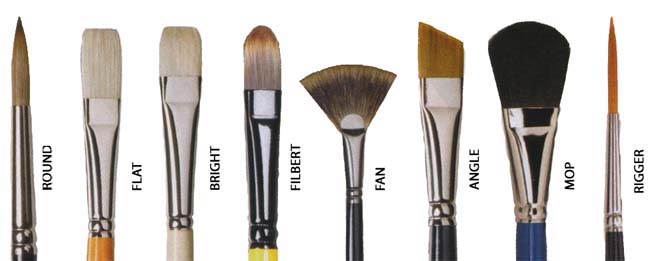
Brushes also come with a variety of tips on them. Each tip is used for a different techniques.
Here’s a handy chart.
Third, a rag.
Or a paper towel, or wash cloth. Or a dirty shirt. Anyway, You need something to wipe your brushes on between colors.
Fourth, the paints.
The paints come in three forms – cakes, tubes, and watercolor pencils.
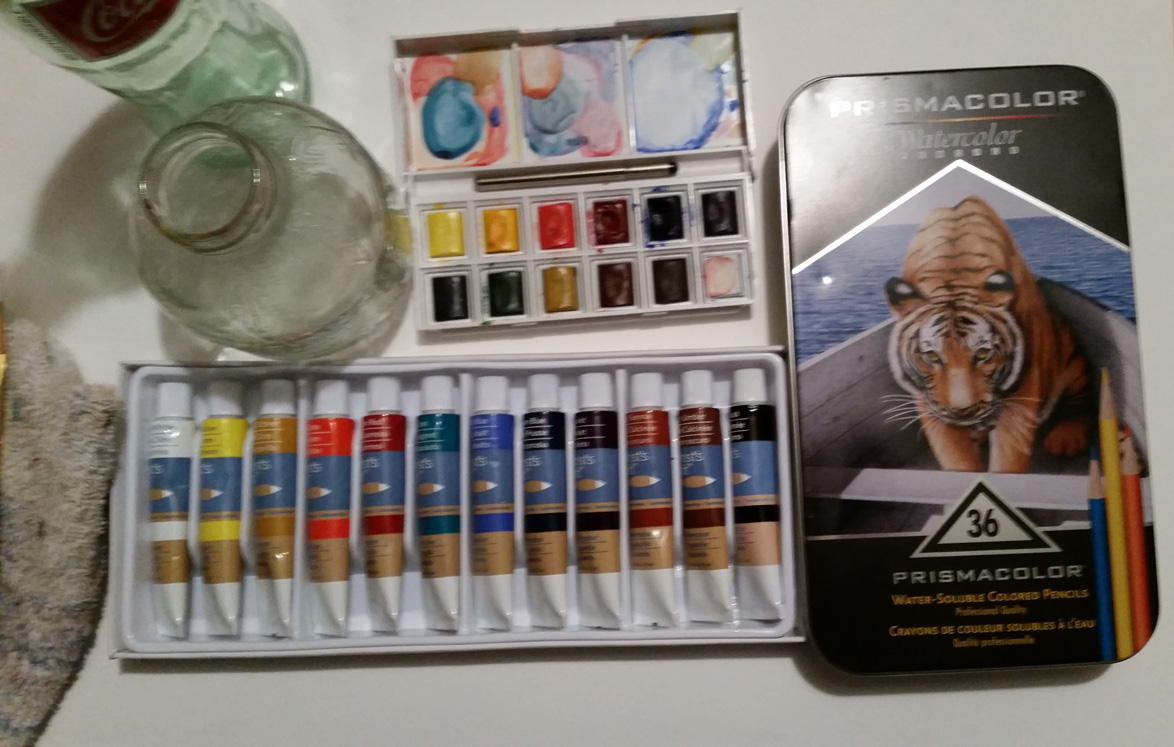
These have their own pros and cons.
Cakes are easy to carry, are perfectly portable, and come in a set. However, the color range can be limited, they’re tricky to mix, and the colors are more transparent (meaning you can see the paper underneath).
Tubes come in a large variety of colors and are easier to mix than cakes. They are also very opaque, meaning you can hardly see the paper underneath. However, they take up space and you need either a palette or palette paper (which is waxy) to mix them.
Watercolor pencils are unique. They work like colored pencils, and you can color with them like such. Then you add water in strokes and voila! You have a watercolor piece.
Watercolor pencils are easy tools to work with, and it’s easier to get gradients (which are swaths of color moving from dark and opaque on one side, to thin and transparent on the other) with these tools.
The drawback to these tools are that, like cakes, color selections are somewhat limited, though some sets have a nice range of colors. The other drawback to this tool is that they leave behind a texture, which can be a problem if you want a smooth color.
Back to supplies. You will need…
Fifth, a painting surface.
The best surfaces to paint watercolors on are papers. The best of the best are mixed media papers (which are nice and thick), Bristol paper (which is often smooth), and watercolor papers (which are thick and toothed. Toothed paper means it has ridges, which helps retain water).
Sixth, a color wheel.
This is a necessary tool for any artist. It shows the primary, secondary, and tertiary colors on the color wheel, as well as their compliments, analogs, tints, and shades.
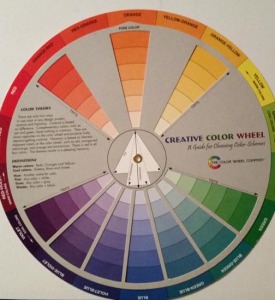
If you don’t know what I’m talking about, be sure to check out this primer on color. There’s also this page that goes more into color theory.
And seventh, scrap paper.
Preferably, this scrap paper will be the same type of paper you’re painting on. With this, you can test and mix your colors before committing them to your final painting. This is also the best surface for mixing cakes. I’ll talk more about how to do that later.
Those are the tools you need to get started with watercolors. I’ll talk about techniques, tips and tricks in the next post.
Thanks for reading, and I’ll see you tomorrow.