“How do I break into comics?”
There’s lots of advice out there for breaking into the comics industry, but the most popular idiom is “Are you making comics? Then congratulations! You’re in the comic industry!”
But thanks to a Twitter conversation I was a part of recently, I’m starting to approach this question from another angle.
The tweet that started the conversation was…
That’s something a lot of comic artists will NOT tell you. Because yes, there are cliques in comics, and yes, it can seem like there’s a frat-boy mentality going on.
This is especially noticeable if you are, or identify as, a woman, because some cliques will treat you very differently and talk to you in different ways.
For example, I was part of a circle for a while, and in this circle was an editor (who will remain nameless, as he’s not really in the comics scene anymore). I was talking about how to attract more attention to your table in Artist Alley, when this editor suggested, “Just show off your boobs!”
I don’t talk to this guy anymore.
There’s tons of stories like this, some mild (like mine), some nightmare-ish.
However, not every comics group is like this.
From what I have observed from conventions and conversations online, it seems that there are at least 11 broad cliques in comics. Yes. 11 of them. They are…
Tired Comics Veterans – you can tell who these guys are because they tend to be over the age of 40, still drawing superheroes, decrying the presence of cosplayers.
Enthusiastic Comics Veterans – few and far between, as many comics veterans are quite jaded. Those who are not, though, are an…interesting bunch.
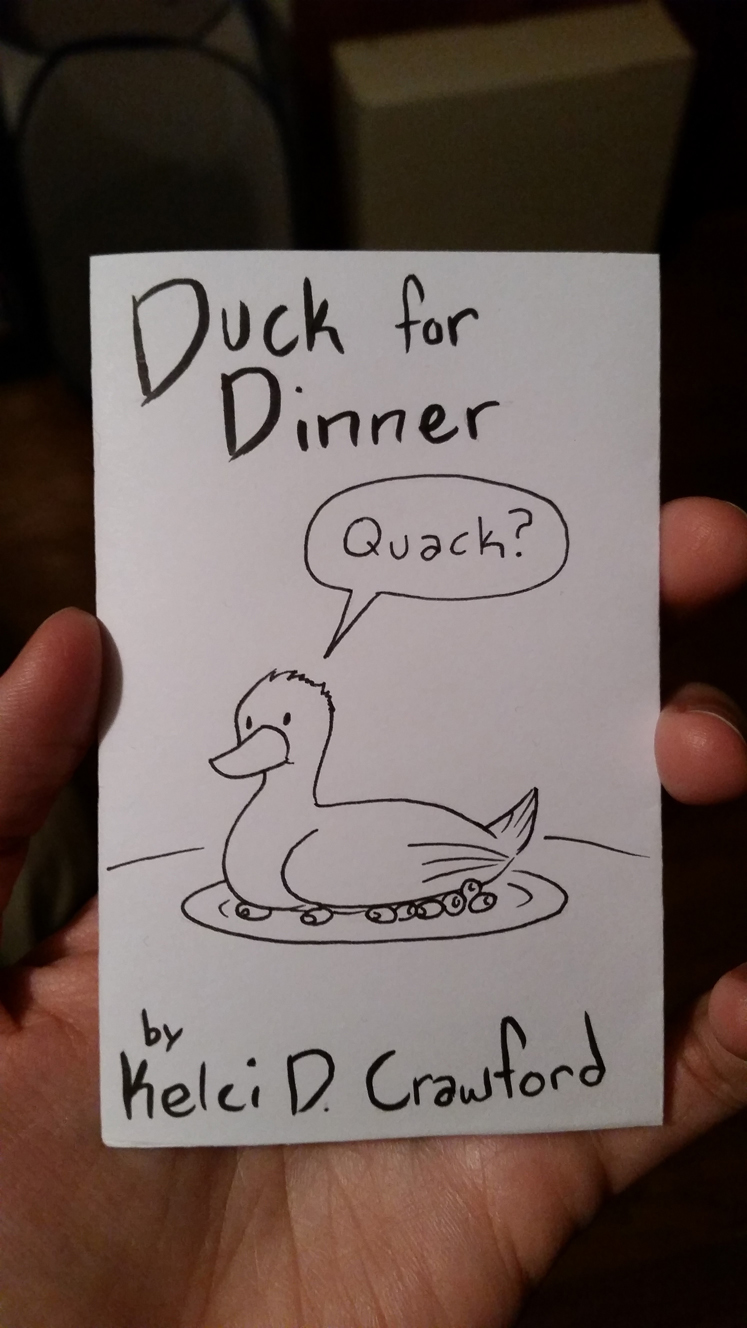
Children’s Comics Creators – While I haven’t met very many people in this clique, they tend to be female (though not always). They aren’t afraid to branch into unusual products to sell with their comics, like plushies. These people tend to be the nicest.
Webcomic Creators – perpetually broke but love the comics medium, and will talk about comics with anyone eager to chat with them. They are also eager to please, and are easily amused.
Webcomic Creators That Make Money – the rarest unicorn in real life and on the Internet. They discourage anyone else from making comics because they KNOW it is a slow, soul-torturing slog.
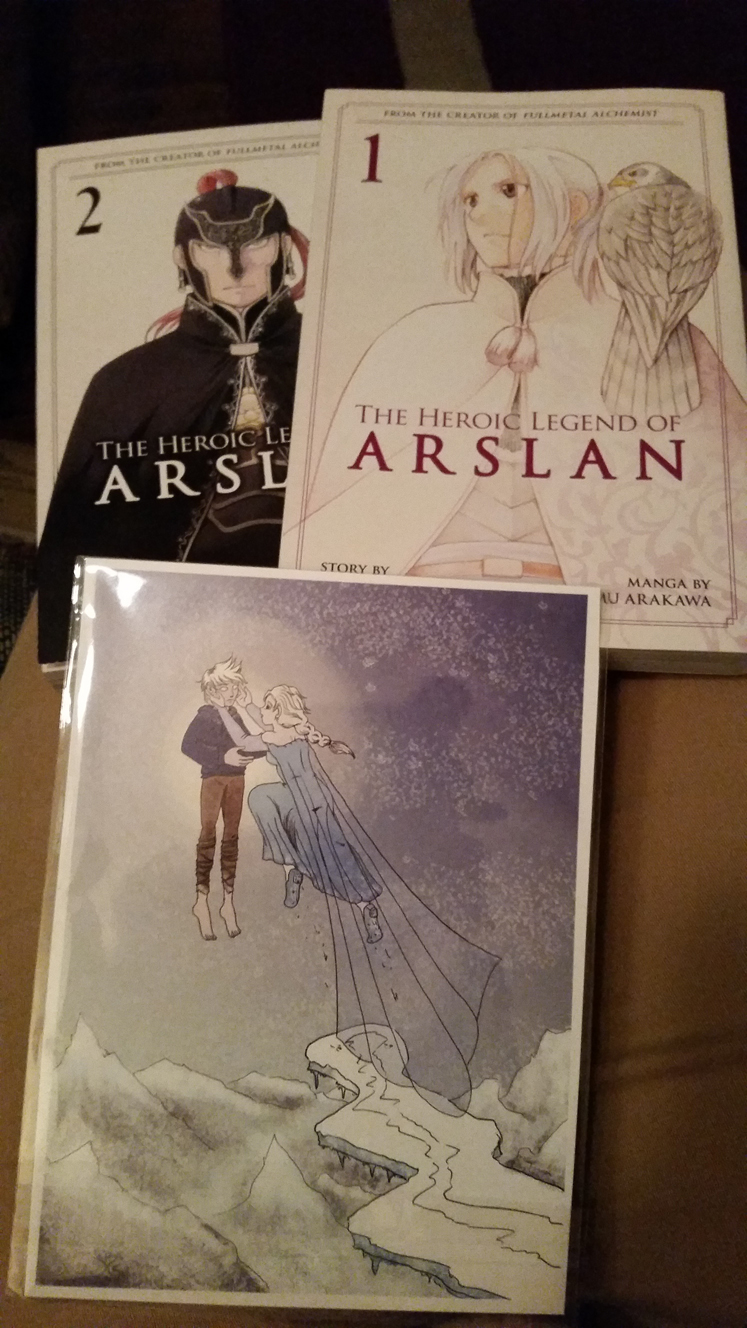
OEL-Manga Creators – are slowly dying out and phasing into other cliques. Those who stay within this clique are hardcore and know little of what’s going on outside of their circle.
Artists for the Big 4 – The Big 4, in this instance, are Marvel, DC, Image, and Dark Horse. Cannot be approached by mere Muggles. In fact, you’re not 100 percent certain they’re real, because you never see them and you only hear about them through podcasts and seeing their names on comic books. They might as well be Yetis.
Indie Comics Creators – the most nebulous bunch, as “Indie” is defined differently according to each person, and even each clique. The Indie crowd can be seen most often at small-press conventions and in Canada (why? No one knows, but there are many theories). Generally seen as standoffish and pretentious, and while many of them are, a few don’t mean to be.
Lonely Self-Publishers – think they are Artists for the Big 4, or even aspire to join that clique. Tend to gravitate towards places that Artists for the Big 4 hang out. Usually in desperate need of going to art school, but refuse to for a variety of reasons, none of which are excusable. Often do way more work than they should. They also hang out with…
Pin-Up Artists – draw all pin-ups and only pin-ups. Could not tell a story to save their life. Usually they have someone else do the talking for them, as they are too soul-crushingly awkward to talk themselves. But there’s a gem of a story within them that aches to come out, even if that story is a terrible one.
And finally…
Small-Press Zine Creators – a strange little group that branched off the Self-Publishers who don’t want to become an Artist for the Big 4, but tell stories too strange, personal, or downright awful to be considered an Indie Comic Creator. Small Press Creators tend to be hobbyists, and many of their works are passive-aggressive jabs at their day job, or autobiographical works.
Of course there are cliques within cliques. That’s what happens when people of like minds gravitate towards each other. There will also be groups of people who are just assholes. With this new-found knowledge, you must remember:
You cannot be friends with everyone, and you should not be expected to. You are the master of your choices, and you choose the people you hang out with. So choose wisely and thoughtfully.
So when I hear somebody say “I want to break into the comics industry,” do you mean actually making comics, or finding a clique that’s right for you?
Thank you for reading, and I’ll see you tomorrow.